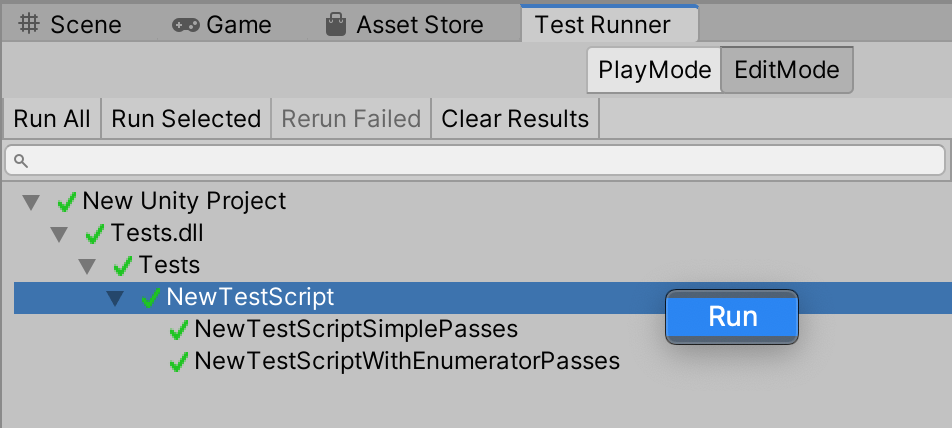
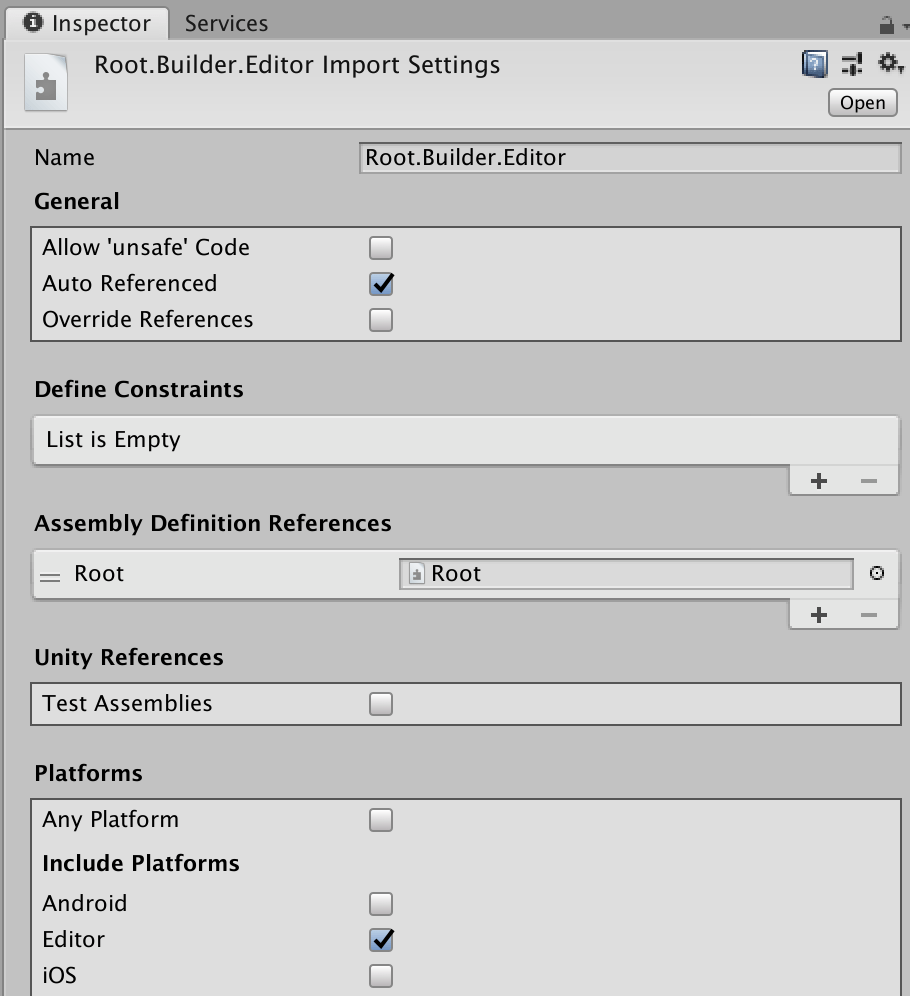
Unity Unit Testing Advanced Tutorial – CI, Patterns, IDE Support & More
In the previous post I’ve covered the essentials of Unit Testing and NUnit in Unity and now let’s get into things that can help speed up and improve the process.
I’ll go over useful attributes and asserts, naming conventions, and how to run tests from the IDE and the command line.
But first, let’s cover the common pattern when writing unit tests.
Arrange, Act, Assert (AAA Pattern)
The idea is that you split each testing method into three parts to better structure them.
In Arrange you would first set up what you need to then do the actual test: create mocks, create the object that is tested, etc.
Then the Act part is the actual calling the methods or anything else you are testing.
And finally, in the Assert part you would check the expectations are met (in our case using the Assert API from NUnit. Like Assert.That , Assert.AreEqual and others)
 1// arrange
 2var splitter = new StringSplitter();
 3var str = "hello_world";
 4
 5// act
 6string[] splitted = splitter.split(str, '_');
 7
 8// assert
 9Assert.AreEqual(2, splitted.Length);
10Assert.AreEqual("hello", splitted[0]);
11Assert.AreEqual("world", splitted[1]);
Useful Asserts
You could write all your tests with just Assert.That, but when tests fail it is really useful to see errors like:
Expected: 1234
But was: 123
which can instantly give you a hint of what went wrong without re-running the tests with debugger enabled to look at what the variables actually were.
You could write those messages each time yourself, like:
1Assert.That(a == b, $“Expected: {b} But was: {a}”);But these can easily be generated for you by doing
1Assert.AreEqual(b, a);This is the classic model of writing assertions and there are a lot more, for example: Assert.NotNull, Assert.Contains, Assert.Throws.
Constraint Model
Even though the classic model is still supported, it will not get new features, and the current one is the constraint model that uses Constraint objects.
Here you will still be using the Assert.That, but a different overload of the method. For example:
1Assert.That(str, Is.EqualTo("hello"));Is is just one of the static helper classes that allow you to get to the actual constraint classes, it also helps it be more readable in the process. There is also a Has class with more options.
Because all constraints implement the IResolveConstraint interface, and Assert.That expects it as a second parameter, you can create your own constraints, when you couldn’t add new methods to the Assert class in the classic model.
This also fixes a pet peeve of mine – in the classical model you always need to remember to put an ‘expected’ result first in the Assert.AreEquals which I find counter-intuitive.
Method Naming Conventions
One of the most common naming strategies for methods was introduced by Roy Osherove and the idea is to mention:
- the unit of work (the name of the tested method)
- state or input
- the expected behavior
with underscores in between.
It looks like this:
1Split_EmptyString_ThrowsException()
2Remove_FromEmptyCollection_DoesNotThrow()
3SubtractMoney_FromZero_ReturnsFalse()
The motivation is to specify requirements you will be checking by this method. That may be technical requirements, for example, set by the interfaces the class implements. Or business requirements.
This naming also allows you to understand what may have gone wrong after your changes, from just looking at the failed test method name.
But there are also other naming conventions. You don’t have to follow any of them, but it is useful to look at them and their motivation before deciding on what will you use. And especially if working in a small team or on a small project – don’t overcomplicate it.
Useful Attributes
Aside from attributes that are actually required to run your tests and [SetUp], [TearDown] I’ve covered in the previous article, NUnit provides more attributes that can simplify your test writing process.
TestCase
When you want to test that your methods give correct results for different input data, the TestCast attribute may come in handy. This is one of the ways to write parameterized tests in NUnit.
1[TestCase(1, 1, ExpectedResult = 2)]
2[TestCase(0, 0, ExpectedResult = 0)]
3[TestCase(1, 0, ExpectedResult = 10)]
4public int Sum(int first, int second)
5{
6    return first + second;
7}
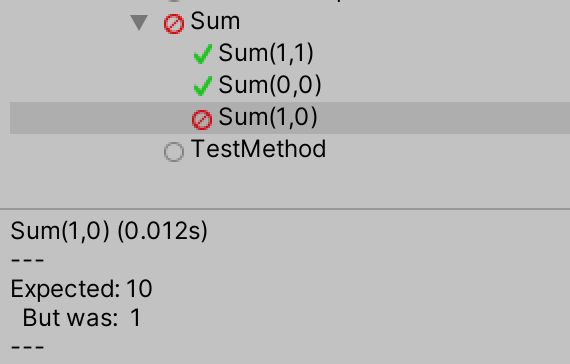
In the example above the last testcase fails. All test cases will appear in the TestRunner as separate lines, so you will see which exact one failed and why.
Combinatorial
There are also more attributes that can save you on typing and help with maintenance:
1[Test, Combinatorial]
2public void TestMethod(
3[Values(0, 1, 2)] int id,
4[Values("X", "Y")] string c)
5{
6    // ...
7}
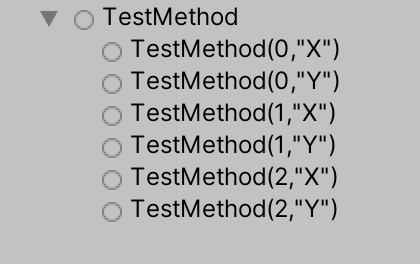
This will create test cases out of all combinations, and Unity will actually display all the combinations and which exactly failed
Category
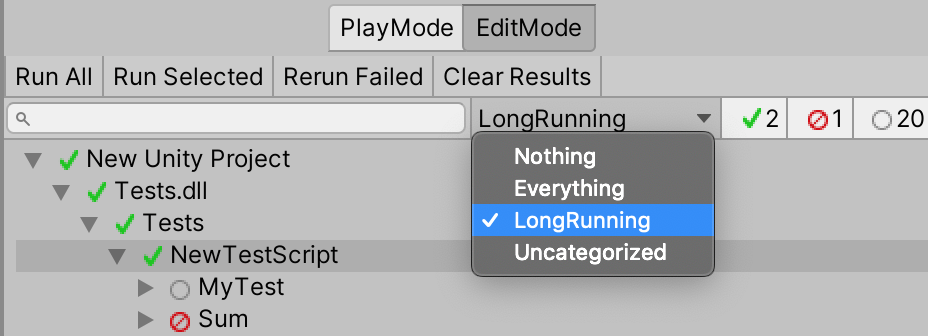
This one allows you to categorize your tests so that you can run tests only from the selected category, or run everything that isn’t categorized. For example, to add category only to long-running tests, to have an option to not run them.
1[Category("LongRunning")]
2public void TestMethod(){}
You can select categories in the Test Runner window.
IDE Support
I’ll go over the IDE I’ve been using lately the most – Rider. It allows you to run tests right from the IDE, without Alt+Tabbing to Unity, so you do not need to wait for long loading times, you get results as fast as Rider can rebuild your changes.
You can open Unit Tests window under “View -> Tools Window -> Unit Tests”. It will first ask you to build the solution to discover available tests.
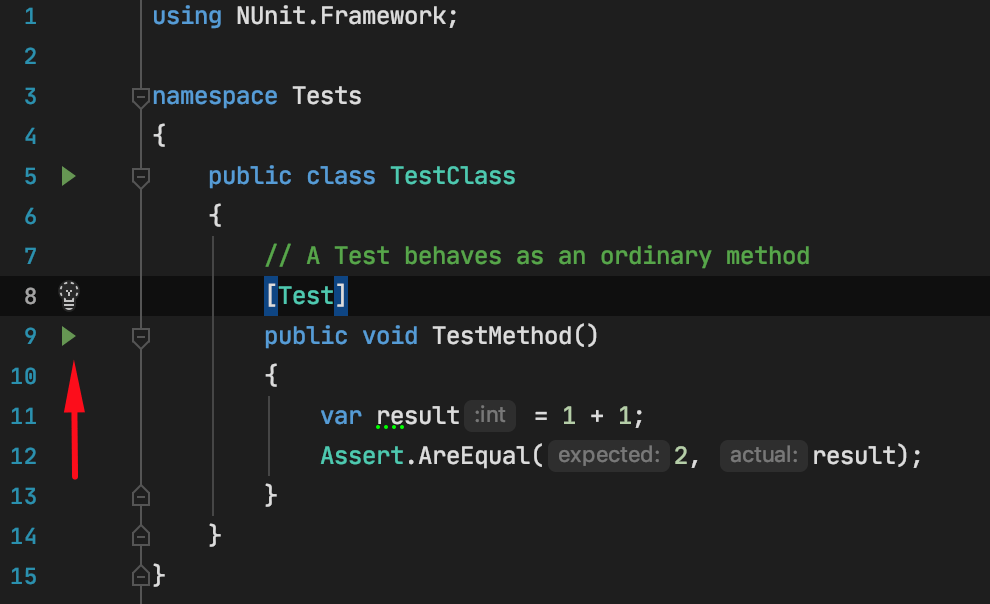
After the build succeeds you will see green play icons appear next to your test methods.
You can also run all the found tests, or set Rider to automatically run all tests when you hit Build.
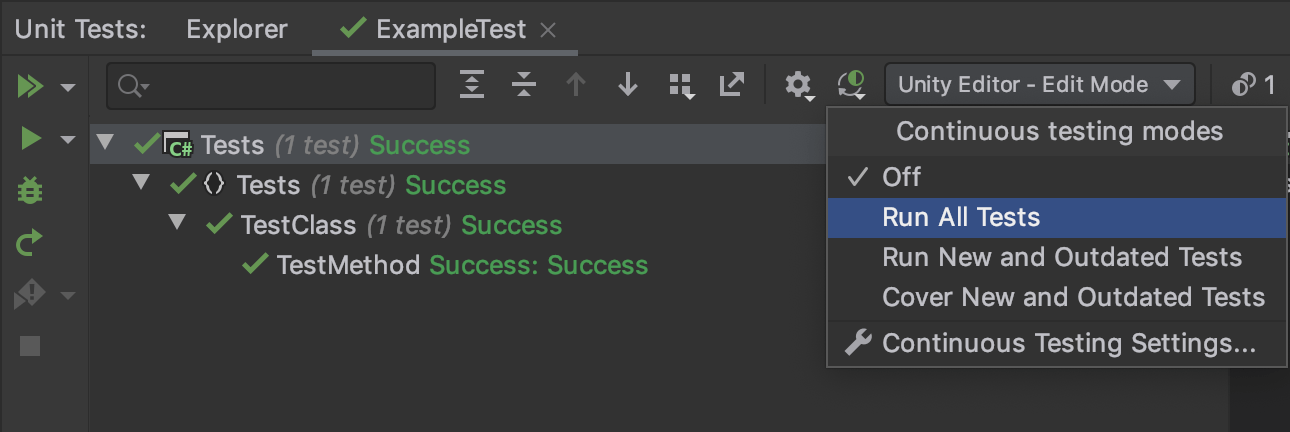
But as far as I understand, only EditMode tests (within assemblies marked with “Editor” platform) can be run this way, otherwise you can get an Inconclusive result with no further info.
As far as I know, this kind of integration with Unity Unit Tests isn’t available in other IDE’s, although you surely can write Unit Tests in any text editor, and run them from the Unity.
Running from the command line
Sometimes you want to run all the tests from the console, for example, to add it as one of the steps to your Continuous integration.
First of all, take your path to Unity, on Windows, it is something like
"C:\Program Files\Unity\Editor\Unity.exe"
and for OSX, similar to this:
/Applications/Unity.app/Contents/MacOS/Unity
although paths may differ, especially if you are using the Unity Hub.
To run tests from the command line you will need to add a few command-line arguments:
- -runTests, to actually run the tests and not just open the project
- -projectPath, to specify which project to open. It is better to enclose the actual path in quotes, to avoid problems with spaces in the path.
- -batchmode, to not open the Unity interface.
- Other command line arguments may also come useful.
And so all together it can look something like:
Unity.exe -batchmode -runTests -projectPath “PATH_TO_YOUR_PROJECT”
Because TestResults.xml is generated in the NUnit format, instead of just seeing error code 2, or error code 1, and then looking through XML to find what exactly failed, you can let you CI know you have a NUnit file to import after the build. For example, there is an XML report processing in Teamcity.

That is it for now, if you would like to see more covered on the topic, please leave your ideas in the comments.
Check out more Unity tutorials.
