Time Manipulation in Unity – Level Creation
This is a series of articles on a particular feature that spawned a lot of value and proved to be a good move. I’m talking about the ability of time manipulation. Sadly it is only possible inside the game but we’ll still talk about it. We will use the game we are currently working on as an example.
Lintrix is a recently released action puzzle with some tower defence elements. To get more context you might want to take a look at the trailer of the game even though it is not mandatory to understand the rest of the article.
We haven’t seen a lot of games that use time manipulation in such a way, so we thought we would try and dive into this topic explaining how exactly you can achieve this and also what applications it might have. We will be showing examples within Unity and using its terminology, but this concept could be used in other engines as well.
Articles:
- Level Creation
- Rewinding Time
- Recorded Solutions
- Testing Automation (coming soon)
Level Creation Utility
Initially, time manipulation was planned to help with level creation. (By the way, if you will be interested in the process of creating a level and tools we use, we will be happy to make a separate article or a video on this topic)
One of the members of our team has extensive experience in creating an animation editor. And notably, it has a timeline that allows you to see how the scene looks at any given moment.
And so we thought because our game is deterministic we could use the benefits of a timeline.
The idea is to make the states and properties (i.e. transforms of the unity3d objects) dependable on time and also be able to go to a specific moment so that all objects will have the state they would have if you just played the game normally.
In an action puzzle like ours, where many objects on the scene are moving during the gameplay and where their position relative to each other is really important, a tool like a timeline makes it much easier for the level designer to understand what will the level look like during playing while he is creating it in the editor. For most cases it was also easy to let the level designer to actually edit the level at that moment, so all the objects would be positioned or rotated how he wants them to be at this concrete time. Objects then automatically recalculate their position when the time is set back to zero or moved forth.
To easily go forward and backward in time we provided hotkeys for this action. After that, the creation of levels was not only about positioning and then playing, but more about hopping forward and backward and repositioning the objects so they will stay as you want them to be in each moment of the level.
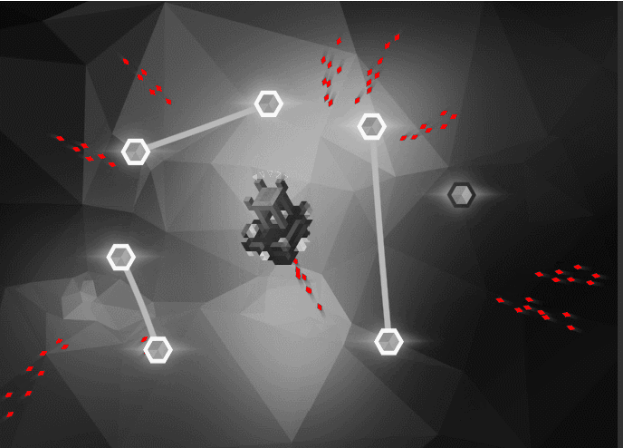
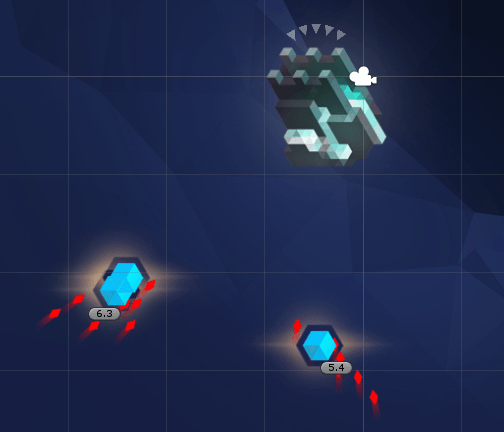
This is valuable in our game because you want the player to be able to link crystals so that all the enemies are destroyed. On the other hand we don’t want them to overlay other crystals, and we don’t want crystals to overlay each other.
Overlaying is actually a big problem during level development in our game, because when most of the objects on the scene are moving it is hard to prevent them from colliding beforehand. There are a lot of times you get something ugly like this:
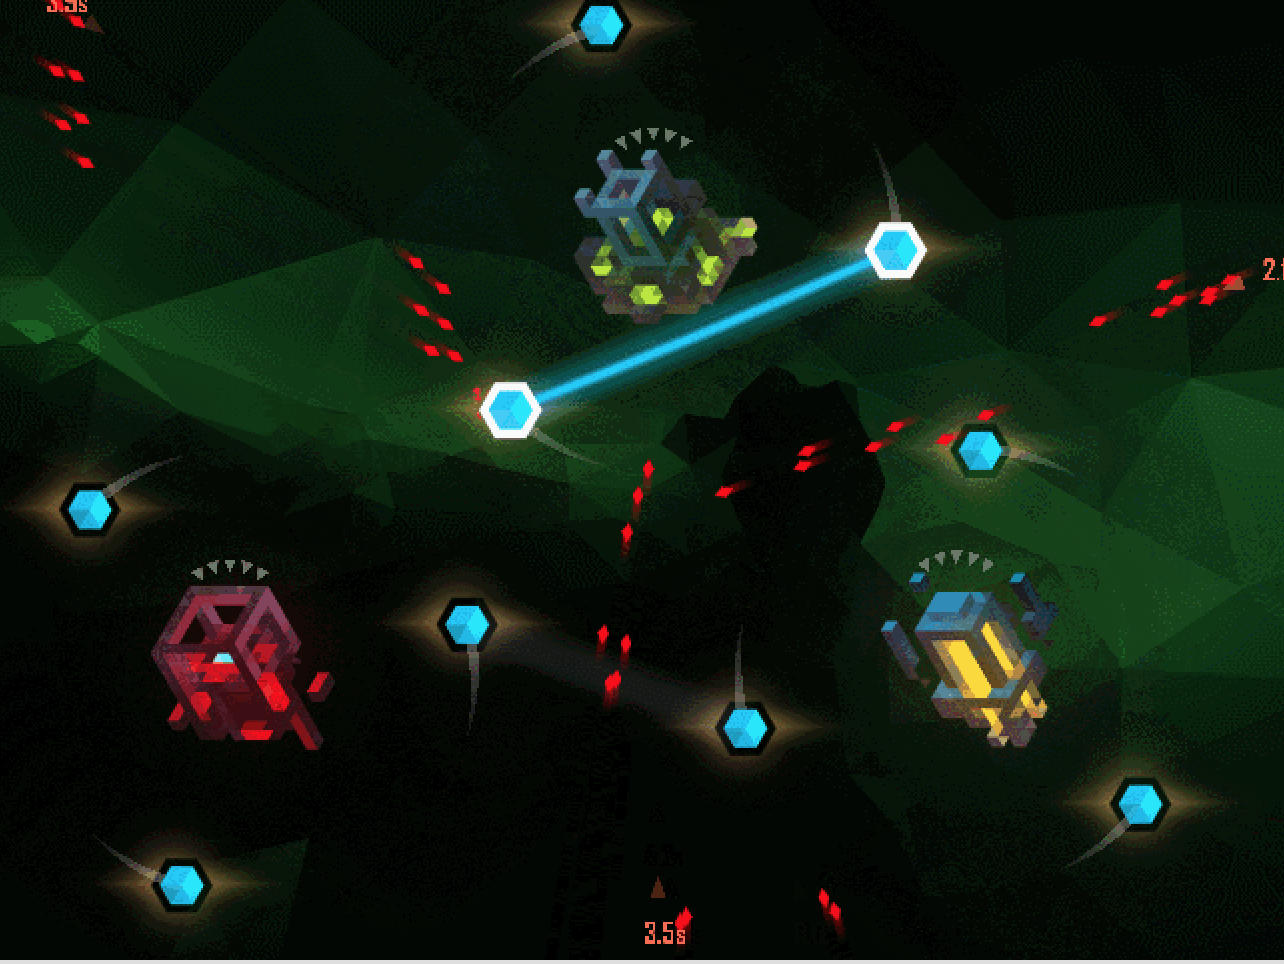
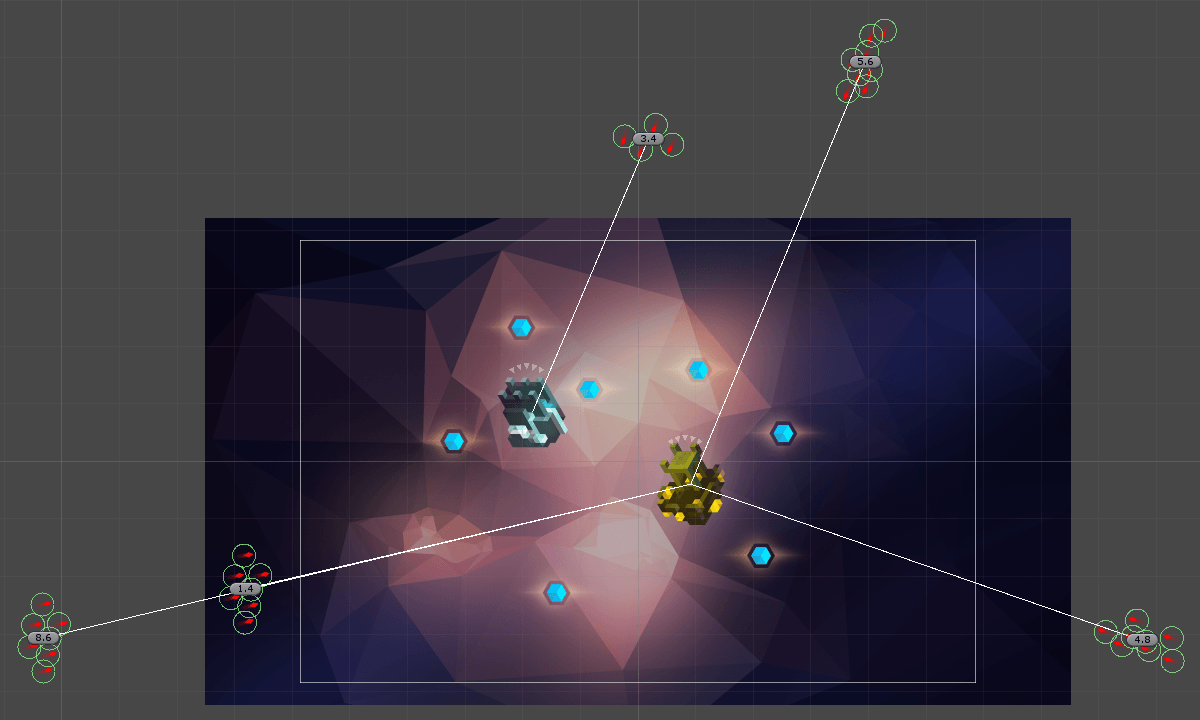
To understand how the objects will move we added trajectories of their movement. It made the problem of getting the enemies to move between crystals without bumping into them much easier.
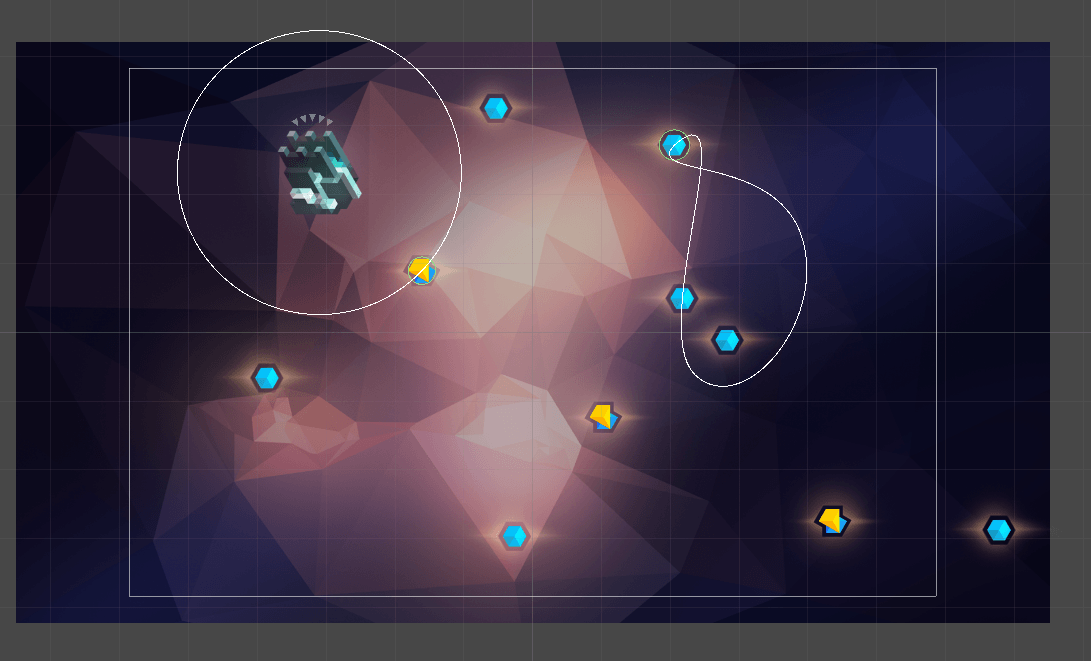
It is also useful for visualizing crystals movement:
We use the time-control in level creation to do “timing”. Timing here stands for tuning the movement of some parts of the level, making objects appear sooner or later when playing the level. Sometimes you even want to move all the action back or forth. For example, you made a level and then understood that you want to give some time to the player at the start, so he will be able to get the full picture of what is happening. Having the timeline you can easily just move the time to a negative value and set this new time as zero.
Because the monobehaviors that updated the time in editor mode were added to the controlled object, to turn on/off the effect of time changing on the object we simply enabled/disabled this monobehaviors and it made them respond/ignore time changes.
Implementation
And now let’s see how you can go about implementing this.
We’ve created a really simple interface:
1public interface ITimeChanging
2{
3    void AddTime(float dt);
4}
And implement this interface for all our monobehaviors that need to change with time.
We also had a time-controlling entity that will call these methods for a set of ITimeChanging objects. This entity interface:
1public class TimeManager
2{
3  float Time{get; set;}
4  IEnumerable<ITimeChanging> TimeDependants { get; set; }
5  void SetTimeBruteForce(float time);
6}
In editor mode we had a monobehaviour that would let the user to directly control the time and in play mode, the level controller increased the time in its Update();
Here is a link to the example project: https://github.com/alexander91/timelineExample
We set up a timeline manager that allows you to just go to different moments in time. And also a couple of cubes that have LineMovement behaviour on them that is derived from ITimeChaning and listens when TimeManager says the time has changed (AddTime) and moves in the defined direction with a given speed (that can be changed in the inspector)
This code is all it takes to add a new behaviour that reacts with movement to the time manipulation
 1public class LineMovement : MonoBehaviour, ITimeChanging {
 2
 3   [SerializeField]
 4   Vector3 direction = Vector3.up;
 5
 6   [SerializeField]
 7   float speed = 0.2f;
 8
 9   public void AddTime(float dt)
10   {
11       transform.position += dt * speed * direction.normalized;
12   }
13}
And so let’s sum it up. If you have a deterministic game, it might actually be a good idea for you to add a time controller in your editor – and it will make your life a lot easier. Also If the motion in your game is actually simple you might be able to provide various options in editor really easily. In the next articles, we will show how we used this to give some value to the players and also help us with testing.
If you liked this article and would like to see more like this one, or just catch the next article in this series – you can subscribe to the blog here.